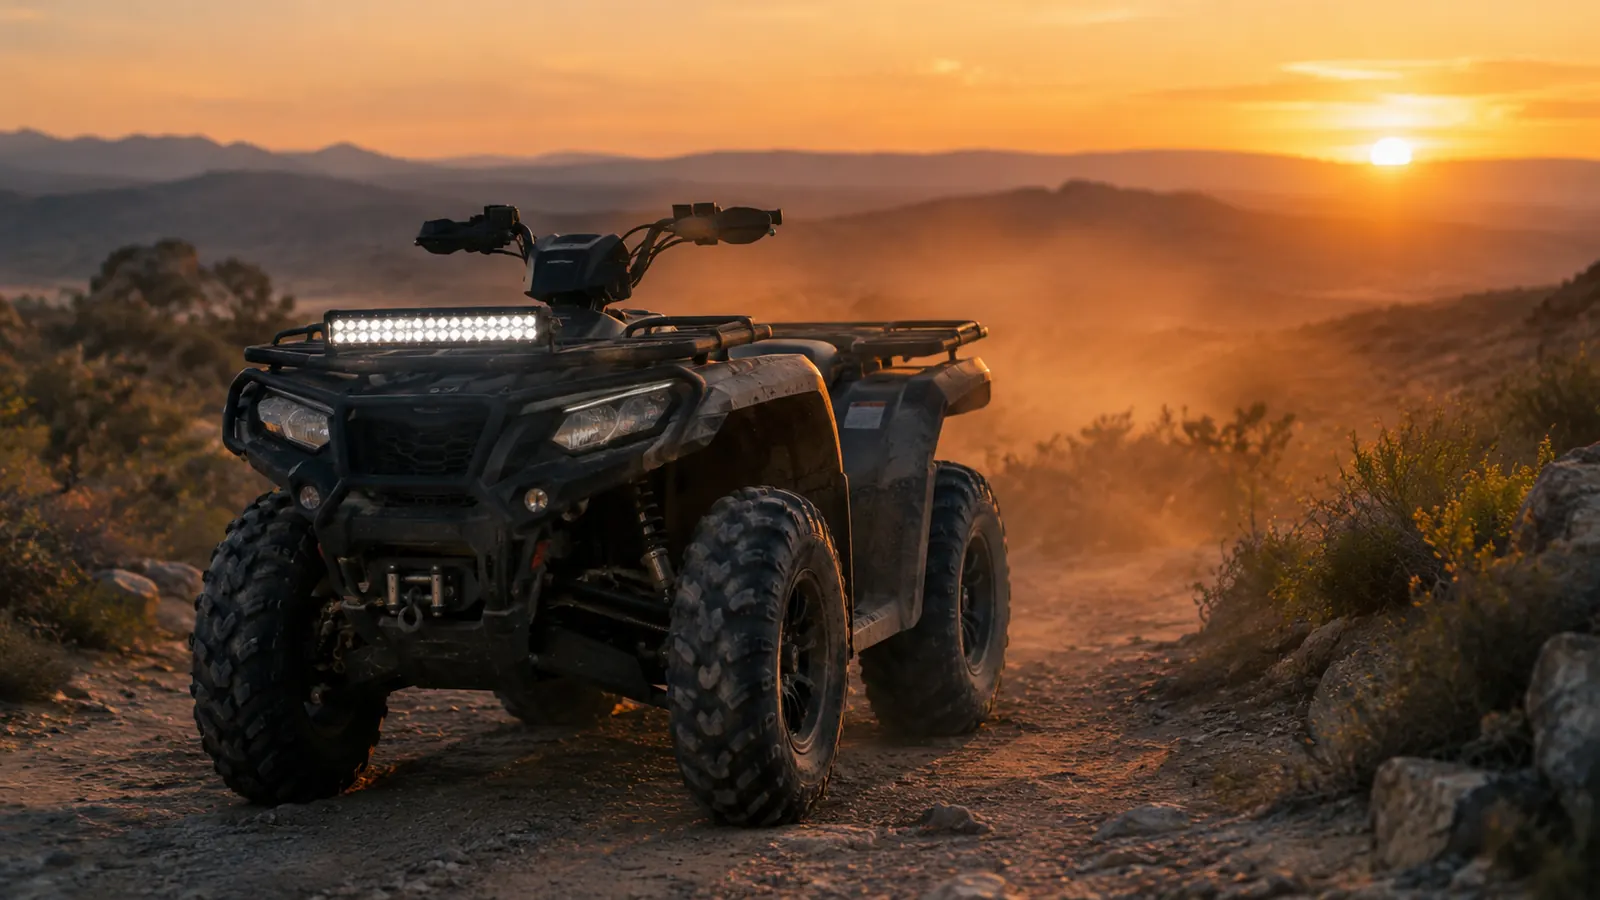
Last spring I was coming off a long day in the desert wash north of Ridgecrest, and the sun dropped faster than I expected. By the time I hit the fire road back to camp, I was running on the Grizzly's stock headlight, which is fine for 20 miles an hour but not for the rocks and ruts that show up right at dusk. I've had the same problem for years, and I finally got tired of guessing where the trail went. So I ordered a set of Nilight 60W flood spot combo pods with the wiring harness, mostly because the price looked right and the reviews were strong. What I didn't expect was how much the beam pattern and the build quality would matter once they were bolted on. I've put about 600 miles on them since then, and I've formed a pretty clear opinion about what these lights do well and where they fall short.
The Quick Verdict
The Nilight 60W pods are a solid buy for weekend riders who need more light without spending Rigid money. The beam pattern is genuinely useful, the housing has held up through a season of dust and vibration, and the harness works if you take the time to route it properly. They are not premium lights, and the switch and relay are the weak points. I give them 8.6 out of 10.
Amazon Check Today's Price →Get the Nilight 60W Combo Pods on Amazon
Check today's price and see why 7,700+ riders rate these 4.6 stars.
Amazon Check Today's Price on Amazon →How I've Used It
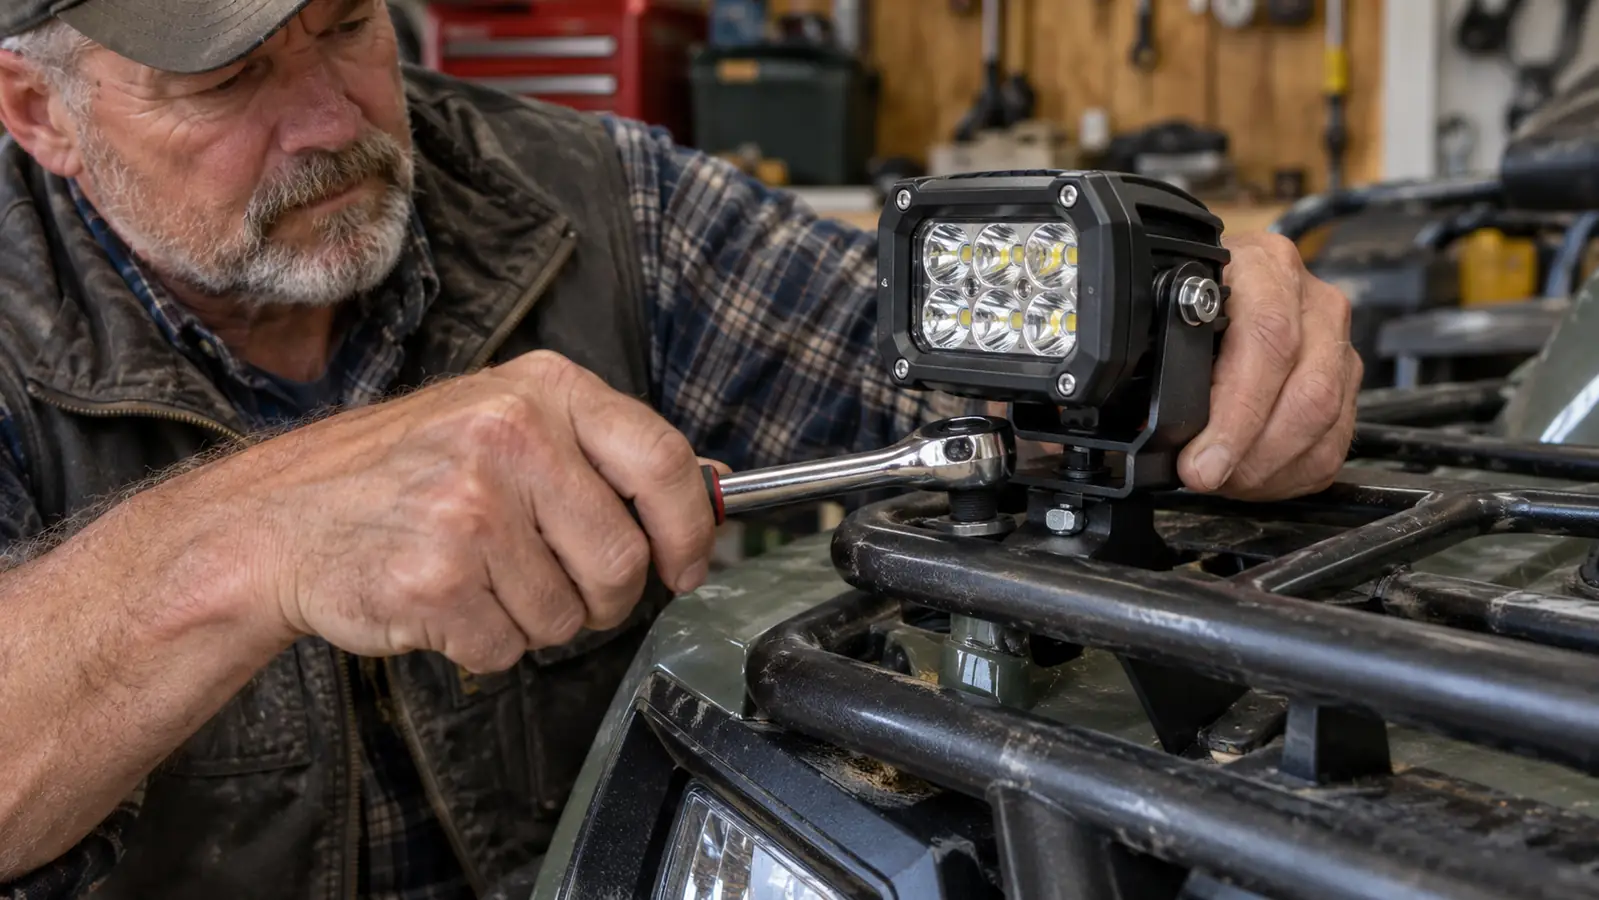
I installed these on my 2019 Grizzly 700 in early April. The pods come as a pair, each rated 60W, with a 12 foot harness that includes a relay, an inline fuse, and a rocker switch. I mounted them on the front rack using the included L brackets, which are stamped steel. The bolts are metric, so you'll need a 10mm socket. The whole job took about an hour and a half, mostly because I routed the harness along the frame instead of letting it dangle. I zip-tied it to the existing wire loom and ran the switch up to the handlebar area. The relay clicks in cleanly. The fuse holder is a standard ATO blade fuse. I had to trim the rubber boot over the relay to get it to seat in the bracket, but that's a five minute fix with a utility knife.
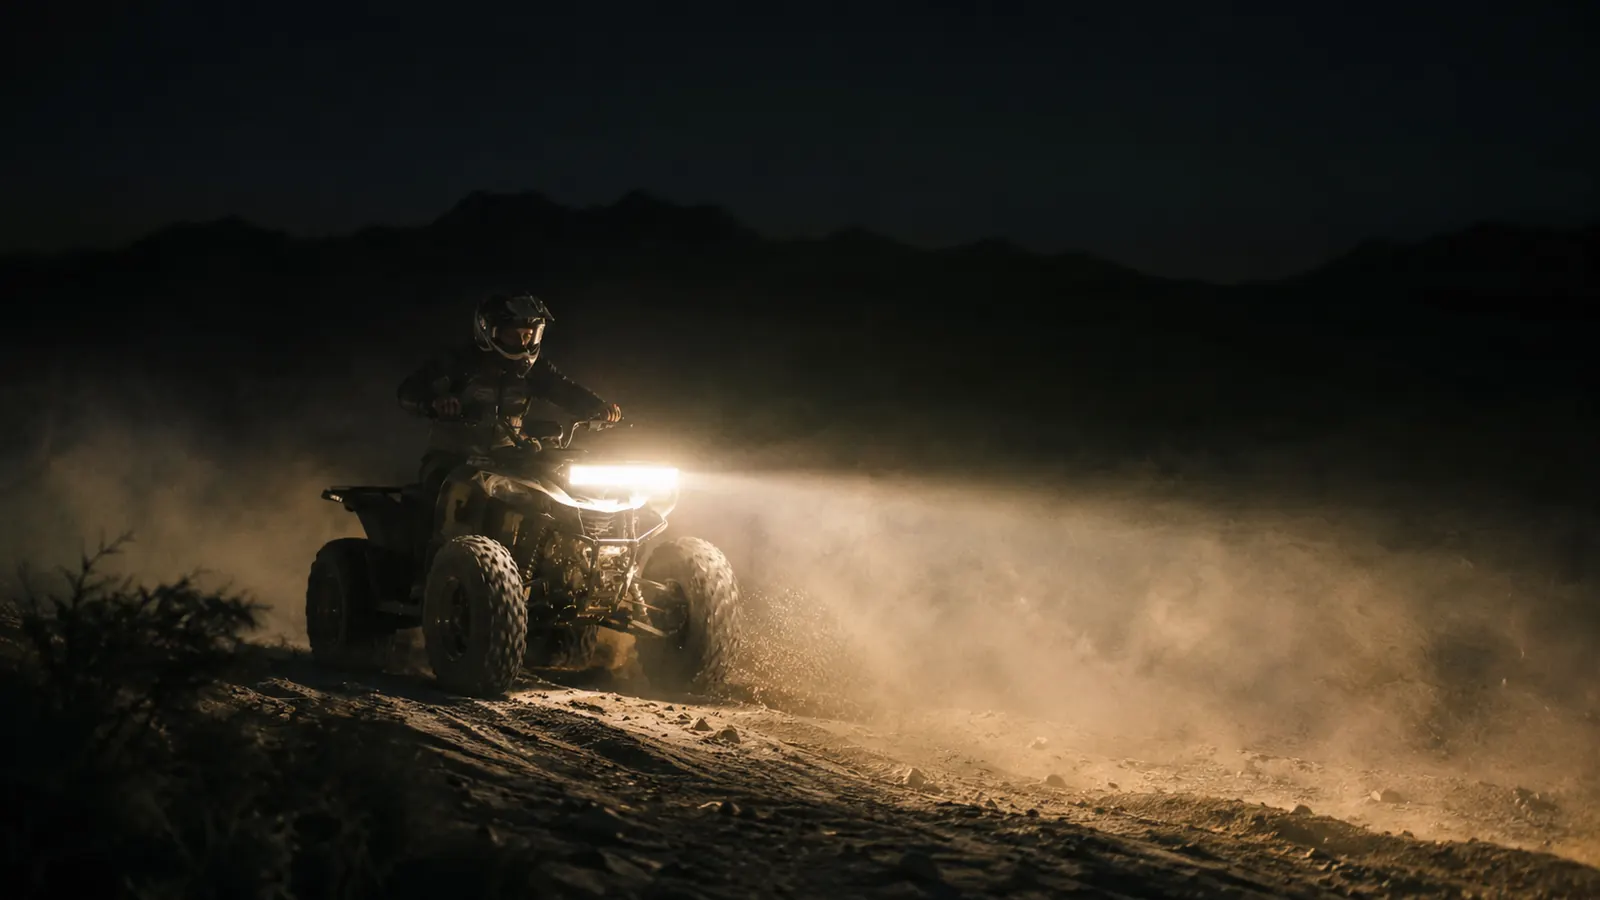
I've put about 600 miles on them since then, mostly in washes and on fire roads, plus a couple of night runs on the dunes. The first thing you notice is the beam pattern. Each pod has a combination of flood and spot lenses. The flood portion spreads a wide, even wash of light right in front of the quad, which is perfect for picking out the edges of the trail. The spot portion throws a tighter beam further out, maybe 80 yards. Together they fill the space between the stock headlight and the far darkness better than anything I've tried. The cutoff is clean, not a lot of glare up into the dust. I also tested them in the rain once, on a wet fire road. The housings are sealed with a rubber gasket, and they didn't fog up.
The lens is polycarbonate, and after 600 miles it has a few rock chips but no cracks. The mounting brackets, though, are the weak spot. The stamped steel bends if you overtighten the bolts. I ended up replacing the brackets with a pair I welded from 3/16 inch plate, because I wanted a more solid mount for the vibration. That's not a knock on the lights themselves, it's just the reality of cheap brackets. The harness itself has held up well. The wires are thick enough, and the connectors are weatherproof. The relay clicks cleanly every time. The switch, though, is the weak point. After about three months, the rocker switch started to feel flaky. It would sometimes not turn on the lights unless you pressed it just right. I ended up swapping it for a cheap toggle switch from the auto parts store, which took ten minutes.
One thing I learned is that these lights attract dust like crazy. After a day in the desert, the lenses are covered in a fine layer of dust that cuts the output noticeably. I now carry a small microfiber cloth and wipe them off before every night ride. It takes about thirty seconds and makes a big difference. The dust also gets into the mounting hardware, so I put a drop of thread locker on the adjustment bolts to keep them from vibrating loose. That's a tip I picked up from an old riding buddy, and it's saved me from re-aiming the lights mid-trip.
Beam Pattern: Flood and Spot Combo
Beam pattern is the thing most reviews skip. A lot of cheap light bars just throw a blob of light that washes out everything and blinds you with backscatter in dust. These Nilight pods are different. The combo lens design gives you a wide flood that stays low and a focused spot that reaches out. On the Grizzly, the flood portion lights up about a 20 foot wide swath right in front of the tires, which is perfect for reading the trail surface. The spot reaches maybe 80 to 100 yards, enough to see a turn before you're on it. The transition between the two is smooth, not a hard line. There is some bleed between the segments, but it's not distracting. I also noticed the flood light has a slightly warmer color temperature than the spot, which actually helps with depth perception on dusty trails.
I ran them with the stock headlight and without, and they hold their own. The stock high beam is a joke compared to these. On a moonless night in the desert, the pods alone light up the wash well enough to ride at 25 miles per hour without feeling like you're guessing. The spot portion does throw a bit of a hot spot in the center, but it's not blinding. I did have to aim them down a couple of degrees after the first night ride, because the spot was pointing too high and lighting up the treetops. A few turns of the adjustment bolt fixed that. The adjustment range is decent, maybe 15 degrees up or down, which is enough for most mounting positions.
One thing that surprised me is how the beam handles dust. When you're riding in a group, dust kicks up and the light reflects off it like a wall. These pods have a fairly tight cutoff on the flood portion, so they don't light up the dust cloud as much as the spot does. That's a benefit if you're leading, but if you're following someone, you'll want to use just the flood. I ended up wiring a separate switch for the flood and spot functions, which the harness doesn't include. The harness only has one switch for both pods, so you get all or nothing. That's a small project if you're handy with a multimeter. I used a simple SPST toggle switch and a relay to control the spot independently, and it's made night riding in groups much safer.
Compared to the stock headlight, these pods are in a different league. The stock high beam on the Grizzly lights up maybe 40 yards of trail, and it's a narrow cone. The Nilight combo gives you a wide flood that covers the whole trail width and a spot that reaches three times as far. I also tested them against a cheap 12 inch light bar I borrowed from a friend. That bar had a harsh hotspot and terrible cutoff, with a lot of glare in the dust. The Nilight pods have a much cleaner pattern. It's not a premium light like a Rigid or Baja Designs, but for the price the beam is remarkably well sorted.
Build Quality: What Actually Holds Up
Build quality is where the cheap lights usually fall apart. The Nilight pods have an aluminum housing with a powder coat finish, and after 600 miles it still looks good. No corrosion, no peeling. The lens is thick polycarbonate, and I've hit it with a few rocks. There's one small chip but no crack. The mounting brackets are the first thing to go. As I said, the stamped steel bends. I replaced mine with welded brackets, but if you don't have a welder, you can buy aftermarket brackets or just be careful not to overtighten. The wiring harness is decent. The wires are thick enough, and the connectors are weatherproof. The relay clicks cleanly every time. The switch, though, is the weak point. After about three months, the rocker switch started to feel flaky. It would sometimes not turn on the lights unless you pressed it just right. I ended up swapping it for a cheap toggle switch from the auto parts store, which took ten minutes.
The other thing that held up is the lens seal. I've pressure washed the quad a few times, and no moisture got inside. The rubber gasket around the lens is doing its job. The aluminum housing also dissipates heat well. Even after an hour on high beam, the housing is warm but not hot to the touch. That's important because heat is what kills cheap LEDs. I checked the current draw with a multimeter and it's right around 5 amps per pod at 12 volts, which is what you'd expect for 60W. That's within the capability of the Grizzly's charging system, and the harness fuse is rated correctly. I also left them on for two hours straight once while I was working on the quad, and they didn't dim or flicker. That's a good sign for long-term reliability. The only cosmetic issue is that the powder coat on the mounting brackets is thin and scratched off where I tightened the bolts, but that doesn't affect function.
When I swapped the switch, I noticed the relay was a standard automotive relay, the kind you can pick up at any auto parts store for a few bucks. That's good news if it ever fails. The fuse holder is also standard, and the inline fuse is easy to replace. The wire harness uses a waterproof connector that locks securely. I had to unplug the harness once to do some other work on the quad, and it was a solid connection, no corrosion or loose pins. The only quality issue I found was the switch itself, which felt cheap from day one. Everything else has held up well.
What Nobody Tells You About the Harness
Here's the honest part. The harness that comes with these pods works, but it's not plug and play in the sense that you can just wire it to your battery and go. The relay needs a trigger wire, which is the blue wire on the harness. You have to connect that to a switched 12V source, or you'll have lights that stay on when the quad is off. I used the accessory wire on the Grizzly, which is under the front cowl. The instructions that come with it are minimal, a single sheet with a wiring diagram that's hard to read. If you're not comfortable with basic wiring, you might want to have a shop do it. Also, the switch is not illuminated, so you can't see it at night. I replaced it with an illuminated toggle. The fuse holder is a standard ATO, so that's easy to replace. The relay is a standard 5 pin, so if it fails you can get one anywhere.
Another thing nobody mentions is that the harness has two pigtails, one for each pod, and they're labeled left and right. That's helpful. But the pigtails are only about 18 inches long, so you have to mount the pods close to the harness connection point or extend the wires. On my Grizzly, I mounted the pods on the front rack, which is about two feet from the battery. The pigtails reached, but just barely. If you're mounting them on the bumper or the grille, you'll need to extend the wires. I used a butt connector and heat shrink, which took another 20 minutes. Not a big deal, but worth knowing. Also, the harness comes with zip ties and a few cable clamps, but they're the cheap kind that snap in the cold. I replaced them with good nylon ties. The harness itself is rated for 12V DC and the wire gauge is sufficient for the current draw.
Another thing that surprised me is that the harness has a built in voltage drop when you use the stock switch. I measured the voltage at the pods with the engine running and it was about 11.8 volts, which is a bit below the battery voltage. That's because the stock switch has a high resistance. When I swapped to a better toggle switch, the voltage at the pods jumped to 12.4 volts, which made the lights noticeably brighter. So if you want to get the most out of these pods, replacing the switch is worth it for performance reasons, not just reliability.
What I'd Do Differently
If I were doing this install again, I'd skip the included brackets and order a set of solid aluminum mounts right away. The stamped steel works, but it's the first thing that will let you down if you ride rough terrain. I'd also plan for the switch replacement from the start. The stock rocker switch is functional but feels cheap, and it's only a matter of time before it fails. Swapping in a quality toggle switch with an LED indicator is a ten minute job that makes a big difference. I'd also extend the pigtails before mounting, even if they reach, because it gives you more options for routing and makes future maintenance easier.
Another thing I'd do differently is to mount the pods a bit higher on the rack. I mounted them at the same height as the handlebars, and in deep dust the spot beam creates a glare that reflects off the front of the quad. Raising them a couple of inches, or angling them slightly down, would help. Also, I'd add a thin rubber gasket between the bracket and the rack to reduce vibration transfer. The lights themselves are solid, but the mounting point is where you can improve the system. These are small tweaks, but they make the difference between a good install and a great one.
Long-Term Reliability
After six months and 600 miles, I've got a good picture of how these hold up. The LED emitters themselves show no signs of degradation. The light output is just as bright as the day I installed them, and the color temperature hasn't shifted. The aluminum housing has a few small rock chips but no dents or cracks. The lens is still clear, aside from the one chip I mentioned. The seals have kept out all moisture, even after pressure washing. The only failures have been the switch and the brackets, both of which are easy to fix. In terms of the core components, the LEDs and the wiring, these have been rock solid.
I've also left them on for extended periods to test heat soak. After two hours on high beam, the housing was warm but not hot to the touch, and the output didn't dim. The thermal design is adequate for the 60W rating. I've run them through a full summer of desert heat, with ambient temperatures over 100 degrees, and they've never shut down or flickered. The only time I had an issue was when I accidentally left them on with the quad off for three days. The battery was drained, but the lights themselves were fine. That's a user error, not a product flaw.
What I Liked
- Excellent beam pattern with a useful flood and spot combo
- Solid aluminum housing that resists corrosion and heat
- Good value for the price
- Easy to aim with adjustment bolts
- Weatherproof seals keep out moisture
Where It Falls Short
- Flimsy stamped steel mounting brackets
- Cheap rocker switch that started to fail after three months
- Minimal instructions and a non-illuminated switch
- Harness pigtails are short and need extension for some mounts
The beam pattern is the reason to buy these. The brackets are the reason to keep a welder handy.
Who This Is For
If you're a weekend rider who wants more light without spending a fortune, these are for you. They're perfect for desert riding, fire roads, farm tracks, and any place where the stock headlight just isn't enough. They're also great for someone who doesn't mind a little wiring work and a trip to the hardware store for better brackets. The beam pattern will make night riding feel like day, and the price won't break the bank. I've had mine on the Grizzly for six months and I'd buy them again without hesitation.
Who Should Skip It
If you need a set of lights that will survive being run over by a truck, or if you want a plug and play kit with no wiring, these aren't for you. If you ride in extremely dusty conditions and need a sealed beam with no bleed, you might want to look at a higher end light. Also, if you're not comfortable with basic electrical work, the harness might frustrate you. But if you're willing to spend an afternoon mounting them properly, they're a great value.
Get Your Nilight Pods Today
Head to Amazon to see today's price and read more reviews from riders who have put these through real miles.
Amazon Check Today's Price on Amazon →