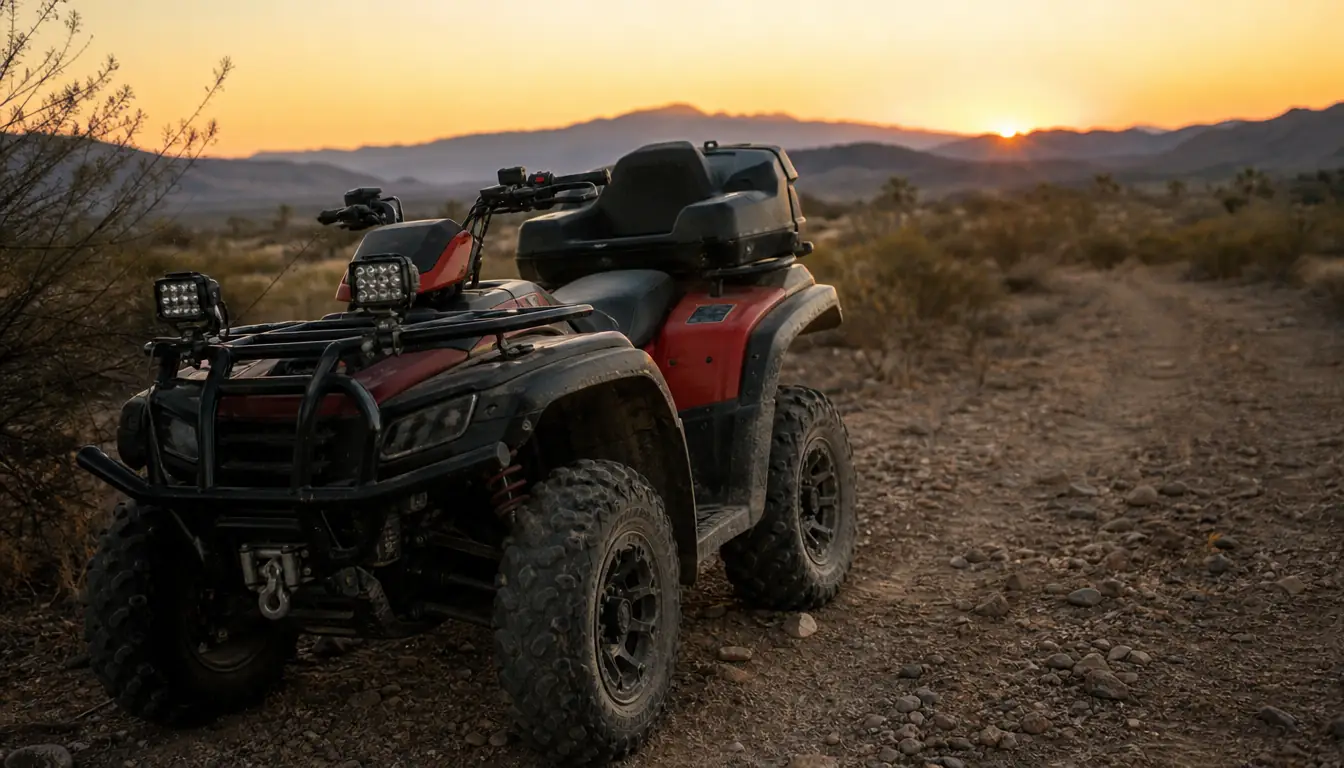
Riding home in the dark is how I finally learned my Grizzly needed more light. The stock headlight on my 2019 Yamaha Grizzly 700 throws a short, yellowish beam that shows you what you are about to hit about two seconds before you hit it. Out on the fire roads past Ridgecrest, with the sun gone and the wash turning to shadow, that is not enough. I am Cal Mercer. I have been riding these desert trails for thirty years, and I have burned more evenings than I can count with a wiring harness spread across my workbench, trying to add a light without draining the battery or melting a switch.
The kit I keep coming back to is a Nilight pair of 4 inch flood spot combo pods with a 12 foot wiring harness. The harness is honestly half the product. It comes with the relay and the inline fuse already wired in, which means you are not splicing a dozen connections together with tape and hoping for the best. This guide runs through the whole job in the order I actually do it, from bolting the pods to the front rack to testing the switch at the end. If you have basic hand tools and an afternoon, you can do this on your own quad and it will still be working a year later.
The kit that turned this into an afternoon job
Nilight's 2-pack of 60W flood spot combo pods ships with a matched relay, fuse, switch, and 12 foot harness. Nothing to size and nothing to guess. The flood beam spreads wide for the close trail and the spot beam reaches down the road, which is exactly the mix you want on an ATV.
Amazon Check Today's Price on Amazon →Why a Harness Kit Beats Bare Pods
You can buy bare pods and wire them yourself with parts from the hardware store, and plenty of people do. But a kit like this one takes the guesswork out of the whole job. The relay, fuse, switch, and 12 foot of wire are matched to the pods, so there is no math and no wondering if the fuse is the right size. You open the box and everything is there.
For the money and the afternoon it saves, a matched harness kit is the easier call for most riders. I have wired bare lights before, and I have spent an evening trying to find a relay that fits and a switch that does not look like it belongs on a boat. The Nilight kit skips all of that. It is the difference between a clean install and a pile of parts on the bench.
What You Are Actually Wiring
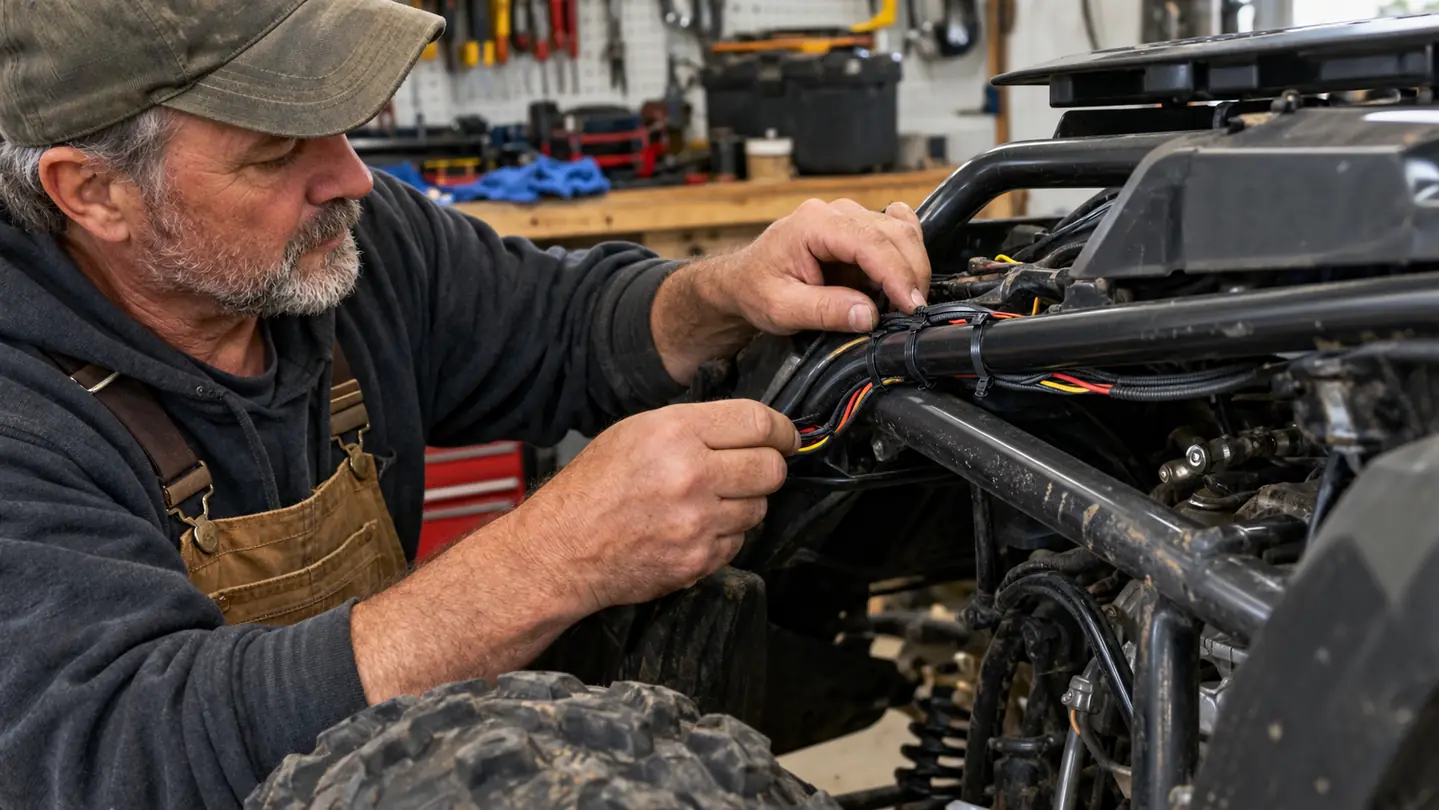
Before you touch a wrench, it helps to know what the harness is doing. There are three jobs in any light install: pulling power from the battery, switching it on and off, and carrying that power to the lights. The relay sits in the middle so the switch only carries a tiny signal instead of the full draw of the pods. That is why a relay is not optional. It is what keeps the switch from burning up and keeps the pods from draining the battery when the key is off.
The Nilight harness has the relay and the inline fuse already assembled, so you do not have to size anything. The fuse protects the whole circuit, and the relay does the heavy switching. Your part of the job is simple: connect the red lead to battery positive, the black lead to ground, run the two light leads to the pods, and wire the switch into the cab. It is a much smaller job than most people expect the first time they open the box.
Step 1: Gather Your Tools and Read the Harness
You need a socket set to match the pod bolts, wire strippers, a crimping tool, heat shrink, dielectric grease, and a roll of zip ties. A cheap multimeter helps at the end for testing, but it is not required. Lay the whole harness out on the bench and identify each lead before you start: the red battery lead, the black ground lead, the switch lead, and the two leads that go to the pods.
The Nilight harness is color coded, so the layout is easy to read even if you have not wired anything in years. Take the ten minutes to trace each wire and confirm which connector goes where. That ten minutes saves you from chasing a loose connection later with the front end already pulled apart. Set the relay somewhere you can reach it easily once the pods are mounted, because you will want to check it if anything goes wrong on the trail.
Step 2: Mount the Pods
The pods bolt to a front rack or a bumper bracket with the hardware that comes in the box. On the Grizzly I mounted them to the front rack with the bolts pointed down and a little thread lock on them, because vibration works plain bolts loose in a season. Keep the pods level and angle them where you actually want the beam to fall. A pod aimed at the treeline does you no good when the trail is ten feet in front of the tires.
Two things to check before you tighten everything down for good. First, make sure the pods clear the suspension and the steering at full travel, so nothing binds when you turn the bars hard. Second, keep them away from the radiator if your machine has one. A pod bolted directly in front of the radiator blocks airflow on a hot summer ride and will cost you cooling. Adjust the angle, tighten the bolts, and move on.
One thing I learned the hard way: aim the pods before you torque the bolts, not after. I set mine level first, tightened one side, and the beam ended up pointing at the sky. Loosen, adjust, retighten, and take a look from the rider's seat before you call it done. It is a five minute check that saves you a lot of fiddling with a wrench in the dark.
Step 3: Run the Harness from Battery to Pods
Now run the 12 foot harness from the battery area forward to the pods. Route it along the frame so it stays away from the exhaust, the moving suspension parts, and anything sharp. Use zip ties every few inches to hold it against the frame, and leave a little slack where the steering moves so the harness does not pull tight when you turn the bars from lock to lock.
Keep the connectors off the ground and out of the spray. I tuck the connector ends up under the rack where they stay dry, and I wrap any splice in heat shrink before I tape it. The point is to pretend this machine gets beat on, because it does. Wiring that looks tidy on the bench but rubs on a bracket will fail in one season, and it will fail at the worst possible time, which is always after dark on the trail.
If the 12 foot harness is not quite long enough for your route, do not stretch it tight to make it reach. Stretch means strain, and strain means a broken wire at the worst moment. Better to reroute along a different path or add a short extension with a proper connector, not a twist and tape splice. A tight harness is a ticking problem.
Step 4: Wire the Relay, Fuse, and Switch
Connect the red harness lead to battery positive through the inline fuse that is already in the line. Connect the black lead to battery negative, or to a clean frame ground with the paint scraped off down to bare metal. The relay then sends power to the pods when the switch tells it to. The two pod leads go to the positive and negative terminals on each pod, and matching the polarity matters, so check the markings on the pod before you hook up the last wire.
The switch lead runs back to the switch you mount on the handlebar or the fender. The switch only carries a small signal to the relay, which is the whole point of using a relay in the first place. Wire the switch so it gets its power from the battery side, and ground the switch if it has a light built into it. Then go over every connection one more time, add dielectric grease to the terminals, and you are ready to test.
The inline fuse is there to protect the wire and the pods, and it should sit as close to the battery as you can get it. If the wire ever shorts, the fuse blows before the wire gets hot. Keep a spare fuse in the tool kit under the seat, because a blown fuse on the trail is a two minute fix if you have one and a long ride home in the dark if you do not.
Step 5: Test, Then Tidy Up
Test everything before you zip the wiring closed. Switch the pods on and confirm both light up, switch them off and listen for the relay click. Check that the switch works with the quad running and with the key off, so you know the pods will not stay on and drain the battery when you park it for the night. If the pods do not light, work backward from the fuse with the multimeter and find the break before you blame the pods.
Once it tests clean, go back and secure every wire. Zip tie anything that could flop, tuck the relay where it is out of the weather, and make sure nothing rubs on the steering or the suspension. Ten minutes of tidying now is what keeps an install working for years instead of one season. When it is all buttoned up, the pods should fire up with a click and cut off clean with the switch, and that is the whole job done.
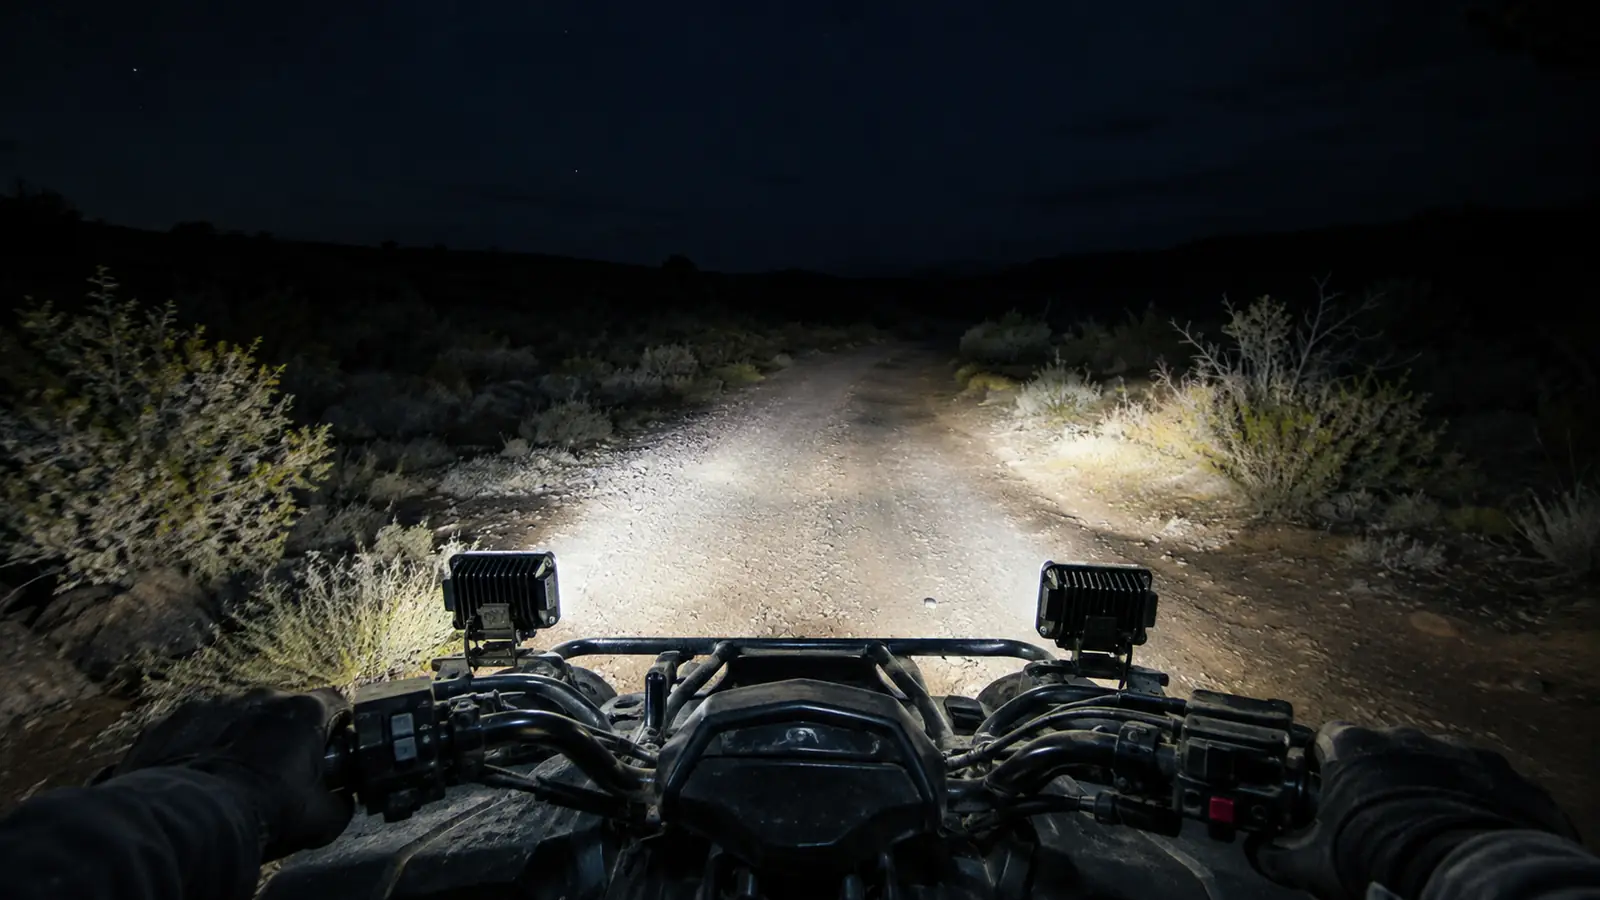
A quick field test is worth doing before you call it done. Take the quad out at dusk, run the pods on a rough stretch, and watch for flickering or a dim beam, both signs of a loose connection. Then switch them off and make sure they stay off when you kill the engine. That ten minute ride tells you more than an hour of bench testing.
Common Mistakes That Kill an Install
The biggest mistake I see is skipping the relay because the pods look small. A pair of 60W pods pulls real current, and running that through a cheap toggle switch will heat the switch up until it fails. The relay exists so the switch only handles a tiny signal. Use the relay that came in the box and you will never think about it again.
The second mistake is grounding to a painted bracket. Paint does not conduct, so you get a weak connection that works sometimes and flickers when the machine vibrates. Scrape the paint off down to bare metal, or run the ground straight to the battery negative. The third mistake is leaving slack wiring that flops against moving parts. A wire that rubs a steering shaft will wear through in a season, and you will be back out there in the dark with a flashlight.
The other mistake is running the harness through the middle of the machine where it gets pinched by the seat or the fuel tank. Take the extra minute to route it along the outside of the frame, even if it looks less direct. A wire pinched under a seat will chafe through, and a chafed wire on a quad is a fire risk you do not want to think about.
What Else Helps
A few small things make the job cleaner. Dielectric grease on every connector keeps corrosion out, which matters in a dusty, wet desert. A small terminal block under the seat makes it easy to add more accessories later without splicing into the harness. And a cheap multimeter is worth having to confirm the relay is pulling power before you blame the pods. None of these are required, but they are the difference between a tidy install and a rattly one, and they make the next accessory job easier. If you ride in rain or wash the quad, a little silicone sealant around the switch opening keeps water out of the contacts.
If you want the full picture on how these pods hold up over a season of hard riding, the long term review on this site goes deeper into mounting, beam pattern, and what eventually wears out. The honest review covers the things nobody mentions in the product listing. Both are worth a read before you order, because they show the same level of detail I tried to put into this wiring guide.
The relay and fuse being already wired into the harness is the whole difference between an afternoon job and a weekend of splicing.
Wire it once, ride it for years
The Nilight pods and harness are the setup I trust on my own quad. Bolts, wiring, relay, and switch all come in the box, and the flood spot combo beam is right for trail riding after dark. One afternoon of work and you are set for every night ride from here on.
Amazon Check Today's Price on Amazon →