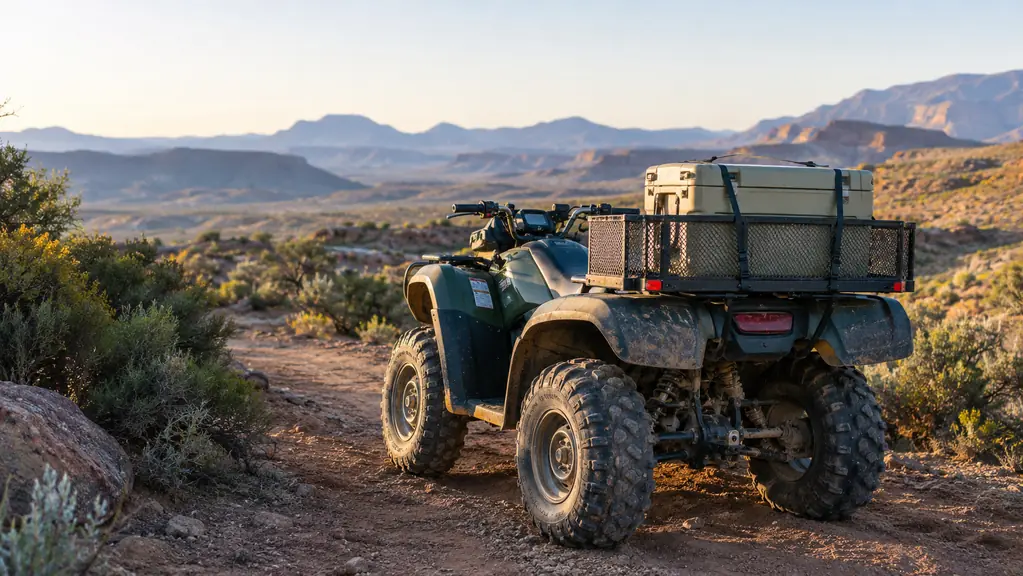
Two summers back I came off a long washboard section near Trona and heard my cooler slide across the rear rack before it clunked into the taillight bracket. I had it tied down with a pair of bungee cords, the kind with little metal hooks, and they looked tight when I left the driveway. They were not tight. Fifty miles of corrugated road shook every bit of tension out of them, and the cooler walked a foot and a half sideways before anything stopped it. I pulled over, found the cooler wedged against the bracket with a dent in the lid, and spent the next ten minutes on the side of the road re-tying it with knots I did not trust.
That was the day I stopped trusting bungees for anything heavier than a jacket. What I use now is a steel cargo basket on the rear rack and a couple of cam buckle straps run the right way. The basket I bolted on is the Titan Ramps rear cargo basket, rated for 150 pounds, and it has carried a 48-quart cooler, a bag of firewood, and a spare gas can without shifting an inch. It is not complicated and it is not expensive. This is the method I use, step by step, so you do not have to learn it the way I did.
Give the straps something solid to grab
Strap a cooler to a bare rack and you are fighting gaps and smooth bars. The Titan Ramps rear cargo basket gives you a steel floor and a rail to hook into, so the load stays put on washboard trails.
Amazon Check Today's Price on Amazon →Step 1: Pick straps that actually hold
The first mistake most riders make is the strap, not the cooler. Bungee cords stretch, and once they stretch they go slack, and a slack strap is no strap at all. Worse, the little metal hooks on a bungee can pop off the rack rail when the load shifts, and then the whole thing comes undone at once. I have seen it happen to other riders, and I have had it happen to me. Bungees are fine for a sleeping bag on a smooth fire road. They are the wrong tool for forty pounds of ice and drinks on a washboard.
You want cam buckle straps, one inch wide, with flat nylon webbing and a cam that locks the webbing down tight. The width matters. A half inch strap digs into the cooler lid and the basket rail, and it is easier to overstress. One inch spreads the load and holds better. A 48-quart cooler full of ice weighs well over forty pounds, and on a rough trail it can slam sideways hard enough to bend thin steel, so the strap rating matters too. Most cam straps sold for cargo work are rated for several hundred pounds, which is plenty for this job.
Ratchet straps work as well, and some riders prefer them because they pull the load down harder and stay put once they are set. I find cam straps are enough for a cooler and a lot easier to release when you are wearing gloves and the sand is blowing. Buy straps long enough to wrap around the basket rail and the cooler and still leave a foot of tail to pull. I run two straps on a cooler, and three if it is a big one or the trail is particularly rough. Extra straps are cheap. A loose cooler on a rough trail is not.
Step 2: Give the cooler a solid base
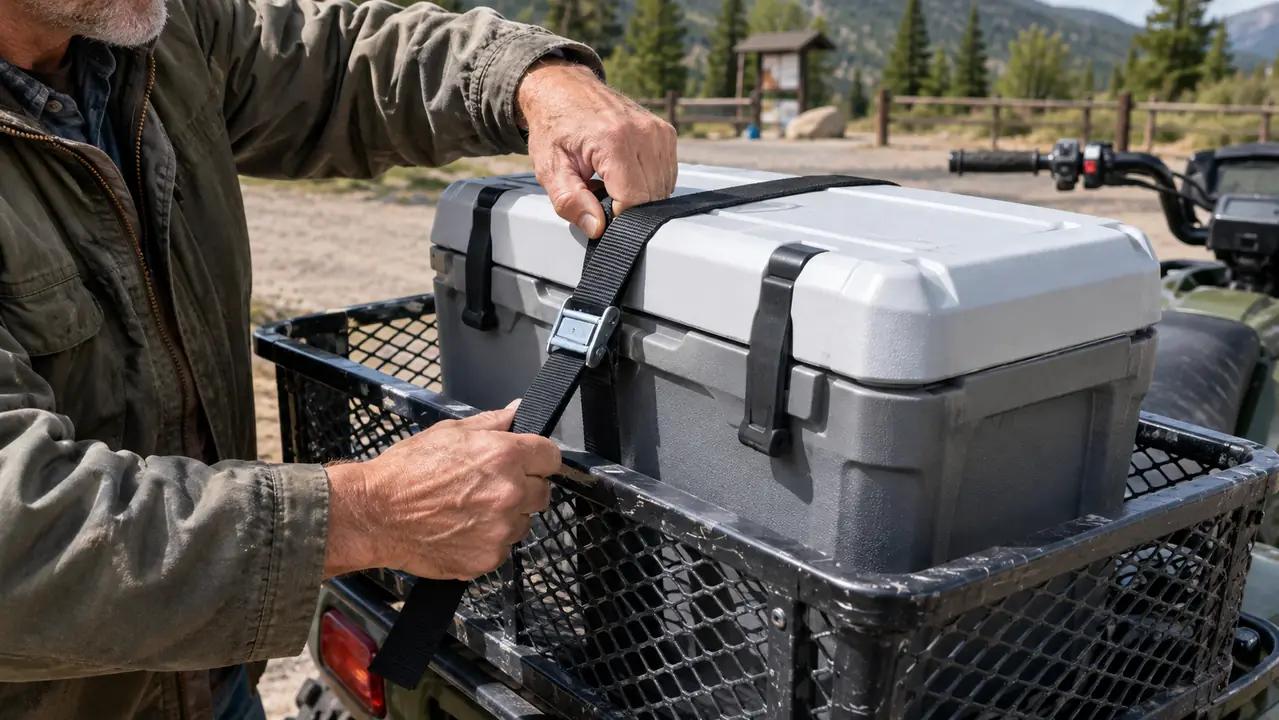
If you strap a cooler to a bare rack, you are asking the straps to do everything, and most racks have gaps you can drop a strap through or smooth round bars that give the webbing nothing to bite. A cargo basket fixes that because it gives you a continuous floor and a rail to hook onto. I mounted the Titan Ramps basket on my rear rack with the hardware that came with it, and it took about twenty minutes with a ratchet and a socket. The basket is steel mesh, so water and dust drain out instead of pooling, and the sides are tall enough that the cooler cannot slide off even before the straps are snug.
I have used cheap plastic baskets and they do not last. The plastic gets brittle in the sun, cracks at the corners where the mounting bolts pull, and flexes enough that your straps go slack over a season. Steel flexes less, and a steel basket like the Titan Ramps unit holds its shape ride after ride. The mesh floor also gives the rubber liner I talk about in the next step something to grip. That combination, a stiff steel floor and a grippy liner, is what actually keeps the load in place.
Check how your specific rack is laid out before you bolt anything on. Some quads have a flat rear rack, some taper toward the back, and some have a raised lip that changes where the basket sits. The Titan Ramps basket has enough adjustment in its mounting points that it sat level on my machine, and I have seen them mounted on older quads with a bit of shimming under one corner. If the basket rocks at all, fix that before you put weight on it. A rocking base will loosen every strap on the trail, and no amount of cross strapping fixes a base that moves.
Step 3: Put a non-slip layer under the cooler
Even in a steel basket, a cooler will slide a little if the straps are not dead tight. A sheet of rubber drawer liner, the kind with the grippy texture, cut to the size of the basket floor, stops most of that. I bought a roll at the hardware store and cut one piece to drop in. The liner grabs the bottom of the cooler and the mesh of the basket, so the cooler stays put even before the straps do their job. It is the cheapest part of the whole setup and it does a surprising amount of work.
If you do not have drawer liner, a piece of old inner tube laid flat works, and so does a rubber floor mat trimmed to fit. The point is to add friction between two smooth surfaces. Without it, the cooler can shimmy a quarter inch back and forth the whole ride, and that constant motion is what works the strap loose. It also wears a scuff line into the cooler lid where the strap rides. A layer of rubber under the cooler is ten minutes of work that saves you from stopping every few miles to re-tighten.
One detail worth noting: cut the liner a little smaller than the basket floor so water can still drain through the mesh at the edges. If the liner covers the whole floor and holds water against the cooler, you get a wet cooler bottom and a soggy liner after a rain or a creek crossing. Leave a finger's width of open mesh around the edge and the basket keeps draining the way it is supposed to.
Step 4: Run the straps the right way
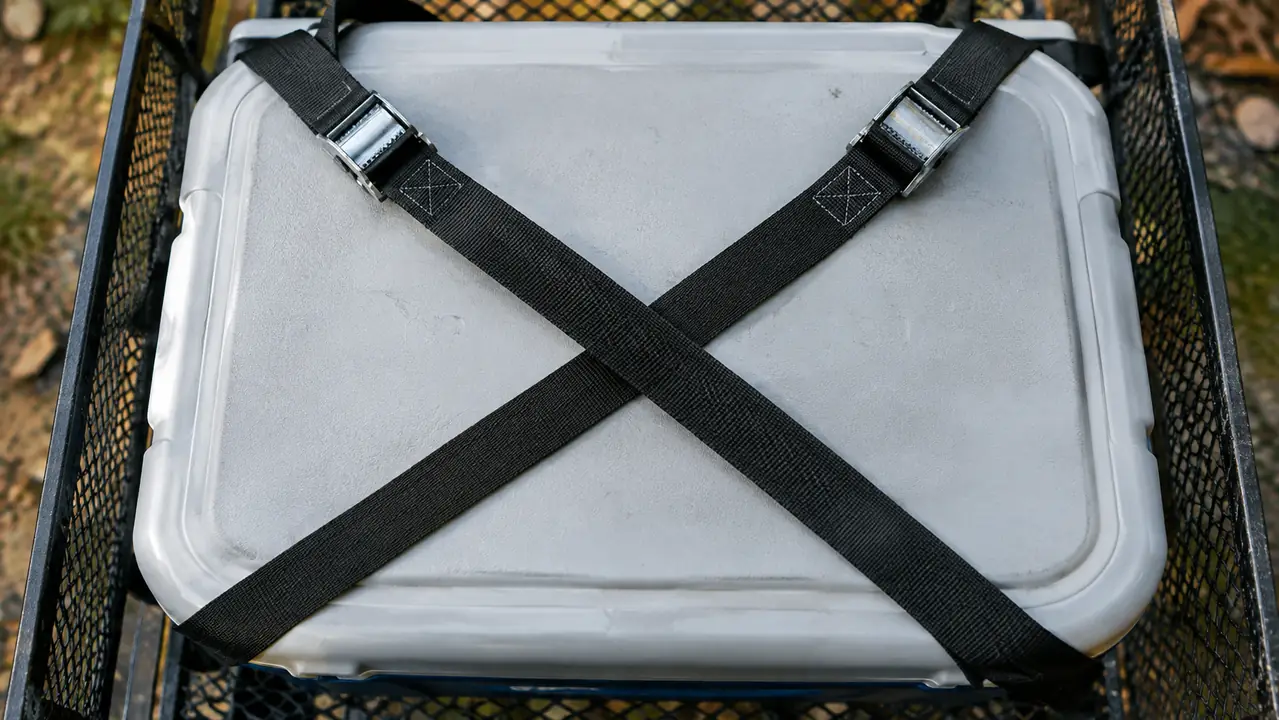
This is the part most people get wrong. A single strap straight across the top of the cooler looks fine and does almost nothing when the trail throws the load sideways. You want two straps, and you want them to cross. Run the first strap over the cooler from front to back, hooking each end to the basket rail, and pull it snug. Run the second strap the other way so it crosses the first in an X over the lid. A cross pattern holds the cooler down and keeps it from sliding side to side, and that is where most of the movement happens on a rough trail.
Pull each strap tight in stages. Snug the first one, then the second, then go back and give the first another pull. Cam straps make this quick because you can release and re-tension without unthreading anything. The cooler should not move when you push on it with your hand. If it rocks, there is slack somewhere, and that slack will be a hundred times worse on the trail. Tuck the loose tails of the straps under themselves or under the basket rail so they do not flap in the wind and fray against the mesh.
What the straps sit on matters as much as the straps themselves. If the cooler has a handle on the lid, run the straps over the body of the cooler, not the handle, because the handle will bend or break and leave you with a loose load. Rotomolded coolers have strong hinges and latches, but I still run the straps over the body to be safe. And hook the strap ends to the basket rail at points that pull straight down, not at an angle that lets the cooler push the strap off the rail. A little thought about where the hooks land saves a lot of re-rigging.
Step 5: Check it before you ride, and check it again on the trail
Before I pull out of the driveway, I give every strap a final pull and grab the cooler with both hands and shake it. If it does not move, it is good to go. Then I do the same check at the first fuel stop, because the first few miles of rough trail are when a strap settles and goes slack. On a long trip I check again at lunch. It takes thirty seconds and it has saved me more than once. The load that left the driveway perfect is rarely still perfect after an hour of washboard. On one trip the guys I ride with watched me do it at the gas station and both of them tightened their own straps before we pulled out. The habit rubs off.
One more habit that pays off: when you get home, do not leave the straps tensioned over an empty basket. It stretches the webbing and wears the cams. Release the straps, coil them, and hang them somewhere dry. The straps that have lasted me years are the ones I release after every ride. The ones I ruined were the ones I left tight all season, and a stretched strap never holds a load the way it should.
What Else Helps
A few small additions make the whole setup better. A piece of rubber hose slipped over the strap where it crosses the edge of the basket rail keeps the webbing from chafing against the steel. If your quad has tie-down loops on the rack, use them, because they are engineered for exactly this job. And if you ride alone a lot, a strap with a quick-release cam is easier to undo one-handed than a ratchet, which matters when you are standing in deep sand with a cold drink waiting.
Know your machine's weight rating. The Titan Ramps basket is rated for 150 pounds, and the rear rack on most quads handles that easily, but a heavy cooler plus firewood plus a gas can adds up fast. Keep the load centered and low, over the axle if you can manage it. A cooler that is tied down tight but sitting high and off center will still wallow on a bad trail, so take the extra minute to center it. If you are carrying something awkward like a long tool or a shovel, tie it down separately so it cannot shift and knock the cooler loose.
And think about what is on top. If you stack a duffel or a sleeping bag on top of the cooler, strap that down as its own load rather than expecting the cooler straps to hold it. Stacks that are tied as one unit shift as a unit, and a shifting unit pulls the straps loose. Separate loads, separate straps. That is the rule I follow, and it has kept every load I have carried on the Titan Ramps basket exactly where I put it.
Fifty miles of washboard shook the tension out of a pair of bungees and sent a full cooler sliding toward the taillight. Cam straps run in a cross pattern have not moved a load since.
None of this takes special tools or an afternoon in the shop. A steel basket, a roll of drawer liner, two cam straps, and a five-step routine that takes a few minutes. You can do all of it with the basket you have and a couple of straps you already own. The basket just makes it easier. The first time you come off a washboard and look back to see the cooler exactly where you left it, you will understand why I stopped using bungees.
Carry the cooler, not the worry
Bungees stretch, straps slip, and a loose cooler on a rough trail is a problem you feel before you see. A Titan Ramps rear cargo basket gives you a solid base, and the cross-strap method keeps the load locked down all day.
Amazon Check Today's Price on Amazon →