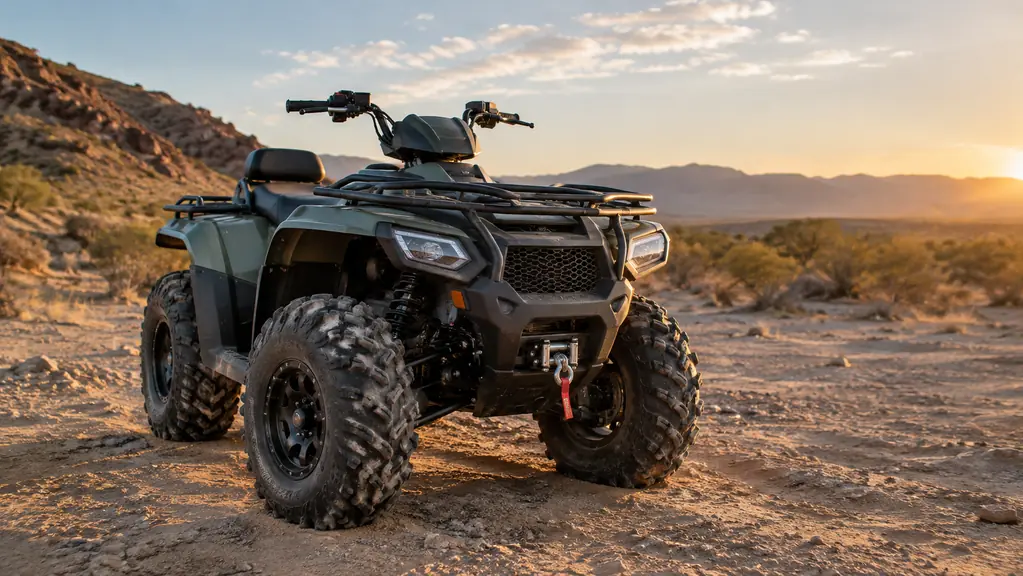
The first time I buried my quad in a soft wash, it took two of the guys I ride with and a long tow strap to get it out, and we were all dusty and tired by the time we got home. I spent the drive back thinking about how close we came to a bad afternoon in the heat. That is when I started shopping for a winch kit. The part that surprised me was how easy the install turned out to be. You do not need a dealer and you do not need a shop. You need basic hand tools and one free afternoon.
A winch kit like the Champion Power Equipment 3000-lb. ATV/UTV Winch Kit comes with everything you need to mount and wire it yourself, which is the whole reason I went this route instead of paying someone to do it. I put one on my 2019 Grizzly 700 in my garage on a Saturday, using tools I already owned. This is the whole process, step by step, including the parts that annoyed me and the one thing I would do differently if I had to do it again.
Bolt it on yourself and skip the dealer.
The Champion Power Equipment 3000-lb. kit includes the winch, mounting plate, solenoid, wiring harness, and a wireless remote. Everything I used on my install was in the box.
Amazon Check Today's Price on Amazon →Step 1: Lay Out the Kit and Round Up Your Tools
Open the box and spread everything out on the bench before you touch a wrench. The Champion Power Equipment kit comes with the winch drum, the mounting plate, a solenoid with its wiring, the handlebar switch, and a wireless remote. Put every bolt and washer in a coffee can so nothing walks off while you work, and set the instruction sheet where you can actually read it. I have dropped one small part on a shop floor and spent twenty minutes finding it, so now I lay everything out first and count the hardware against the sheet.
The tool list is short. A socket set, a couple of open-end wrenches, a drill with a metal bit, a pair of pliers, and a clean rag. I used a torque wrench because I am fussy about fasteners, but a regular ratchet gets the job done. Add a small tube of thread locker and a few zip ties for the wiring later. My garage has a bench vise from years of fabrication work, and it came in handy for holding the plate square while I worked the bolts, but it is not required. You can have every tool for this job in a single drawer, and if you have worked on a quad before, you already own all of it.
Give yourself the afternoon and do not rush the first one. My install took about three hours, and that included a break to make coffee and one trip back into the house for the drill bit I had set down somewhere. The second time you do this, if there is a second time, you could knock it out in half that.
Step 2: Mount the Plate to the Frame
The mounting plate bolts to the front of the frame, usually into two factory holes under the bumper. On my Grizzly, the plate sat right over the existing mount points and I did not have to drill anything. The factory holes are drilled for the stock bumper, and most winch plates line up with them. If yours do not, a hand drill and a steady hand sort it out, and the plate covers the work once it is bolted down. Hold the plate in place, check that it sits square, and mark the holes before you commit.
This is where quality shows up. The Champion Power Equipment plate is a thick piece of steel, not the thin stamped metal I have seen on bargain kits. It did not flex when I torqued the bolts down. Cheap plates bow under load, and a bowed plate lets the winch shift on the frame, which ruins the alignment of the line and can chew up the fairlead. I have fabricated my own brackets for plenty of projects, so I know the difference between stamped tin and steel that will hold, and this plate is the real thing.
Use the bolts from the kit and add a dab of thread locker on each one. Vibration is what shakes a mount loose, and a quad vibrates plenty. I checked my bolts once a season after the install and nothing has moved in two years. That peace of mind is worth the thirty seconds it takes.
Step 3: Bolt the Winch to the Plate and Feed the Line
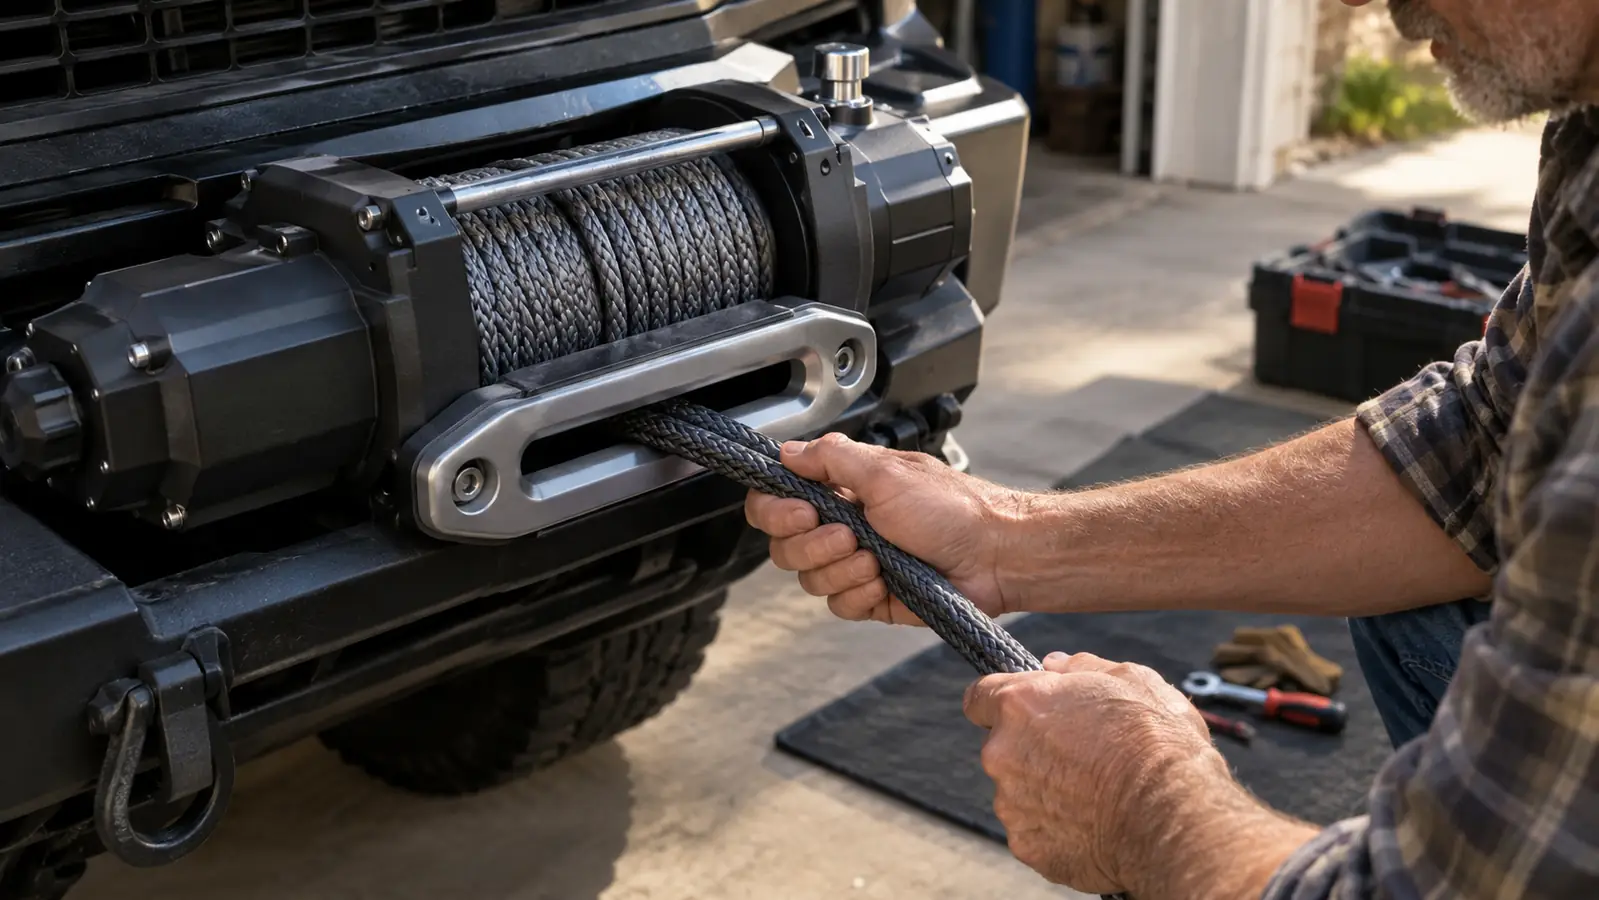
Set the winch on the plate and bolt it down with the hardware that came with the kit. The drum should sit so the line feeds out the front, over the fairlead, toward the bumper. On my install the holes lined up clean and the winch was on in about ten minutes. If the bolts fight you, a thin washer or two can take up the slack without affecting the mount. Do not force anything. If a bolt will not start by hand, the threads are dirty or the holes are out of line, and forcing it is how you strip something.
Feed the line through the fairlead and leave at least five wraps on the drum. Those wraps are what anchor the cable to the drum. If you spool it all the way out before you secure the end, the first real pull can slip the cable off its anchor point, and that is a headache you do not want when you are stuck in a wash.
If your kit has a roller fairlead, check that the rollers turn freely before you tighten everything down. A stuck roller will drag on the cable and wear it over time. I gave mine a squirt of light oil and it has turned smooth ever since. I check the fairlead rollers before every season along with the line itself. A quick look at the cable for kinks and frayed spots takes two minutes and catches problems before they leave you stranded.
Step 4: Wire the Solenoid and Battery
The wiring is the part people dread, and it is honestly the easiest part of the job. The kit includes a solenoid that mounts near the battery or on the frame, and the whole thing is laid out so a first timer can follow it. Run the heavy cable from the battery positive terminal to the solenoid, then from the solenoid to the winch motor. The ground cable goes from the battery negative to the frame at a clean bare-metal contact, and a wire brush makes sure that contact is actually bare.
The Champion Power Equipment kit uses color-coded leads, so it is hard to cross the wires. Black to ground, red to positive, and the control wires plug straight into the solenoid. I routed the cables along the frame and held them with zip ties so nothing hung near the exhaust or the front suspension. A cable that rubs on the frame will wear through eventually, so take the time to tuck it.
Mount the handlebar switch where your thumb reaches it without leaving the grip. I put mine on the left bar so I can steer and run the switch at the same time. The wireless remote that ships with this kit meant I barely used the switch, but I mounted it anyway so I have a backup. A dead remote battery is not a reason to be stuck, and the switch costs nothing to install while you are already in there.
Step 5: Spool the Line Under Tension and Test It
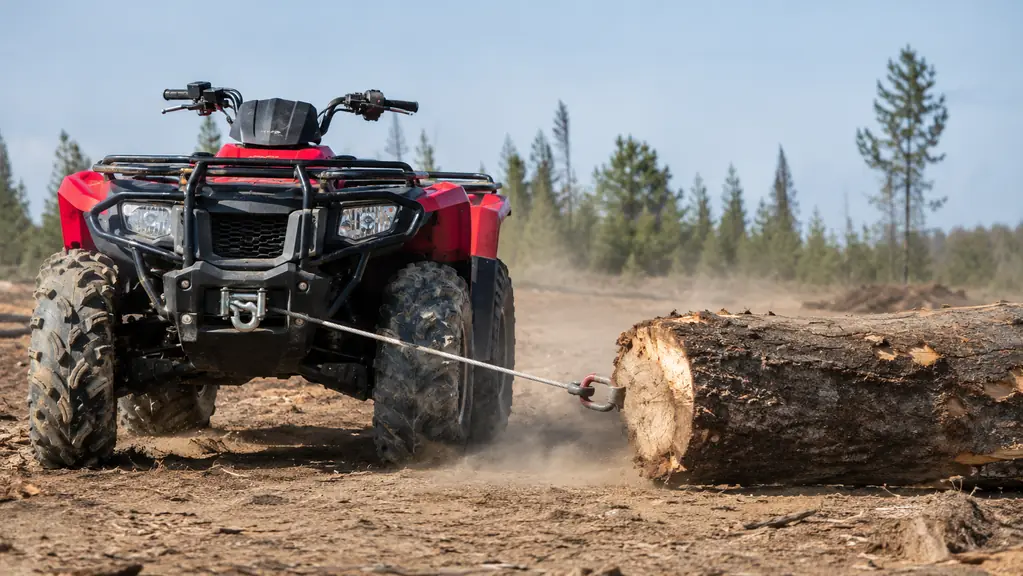
Before you trust the winch, you have to spool the line under tension. Hand-spooling leaves the cable loose, and a loose spool will bind and crush on the first real pull. The trick is to run the free end out, hook it to something solid, and power the winch in while the quad idles. I hooked the strap around a fence post and let the winch pull the quad a few feet while I held light pressure on the brake.
That seats each wrap tight against the drum, which is the whole trick. Do it twice, and respool once if the line looks uneven as it builds. Uneven wraps are the main reason a winch line jams, and a jammed line is usually a cut line. Fifteen minutes of careful spooling now saves you from feeding a whole drum by hand in the middle of a recovery, and it keeps the cable flat so it pays out clean every time.
Then test it for real. Pull the quad up a small bank or drag a log across the yard. Watch the solenoid click and the drum turn. If the remote works from thirty feet and the switch works from the bars, you are done. I ran my test, let the quad sit overnight, and checked the battery the next morning to make sure nothing was draining while it was parked.
What Else Helps
A pair of work gloves and a spare tow strap are worth keeping in the box. The glove keeps your hands clean when you feed the line, and the strap gives you a recovery point that is easier to reach than the hook when you are pulling someone else out. A hook strap is handy too, one of those short loops that keeps the hook from swinging when the line goes slack. It keeps the hook from beating up the fairlead on rough trails. I also keep the wireless remote in a small zip bag so dust does not get into the buttons. Dust is the enemy out here, and a clean remote is a remote that works when you need it.
One more thing: read the rating on your kit honestly. A 3000-lb. winch is rated for a quad, not a truck, and it pulls at a fraction of that rating when the line is on the last layer or the battery is low. Keep the pulls short and let the winch rest between them. That is how it stays reliable for years instead of burning out on the first job.
At the end of the day, the winch sits on the front of the quad and you mostly forget it is there. Then one Saturday you slide into a wash that is softer than it looked, and you pull the remote out of the bag, and it works. That is the whole point. I have used mine more in the past year than I expected, and every time it has made the difference between a good day on the trails and a long afternoon of digging. If you have been putting this off because the wiring looked intimidating, trust me, the hardest part is picking the kit. The guys I ride with have asked about it more than once since I put mine on, so I suspect I will be helping with a couple more installs this spring.
Three hours on a Saturday, and I have not had to touch a single bolt since.
Ready to stop borrowing tow straps?
The Champion Power Equipment 3000-lb. kit is the one I run on my quad, and the install took one afternoon in my garage.
Amazon Check Today's Price on Amazon →